mywifiext com-mywifiext net login
Easily set up or troubleshoot your Net gear WiFi extender with Mywifitechlink.online—visit the links below for immediate help.
www mywifiext net
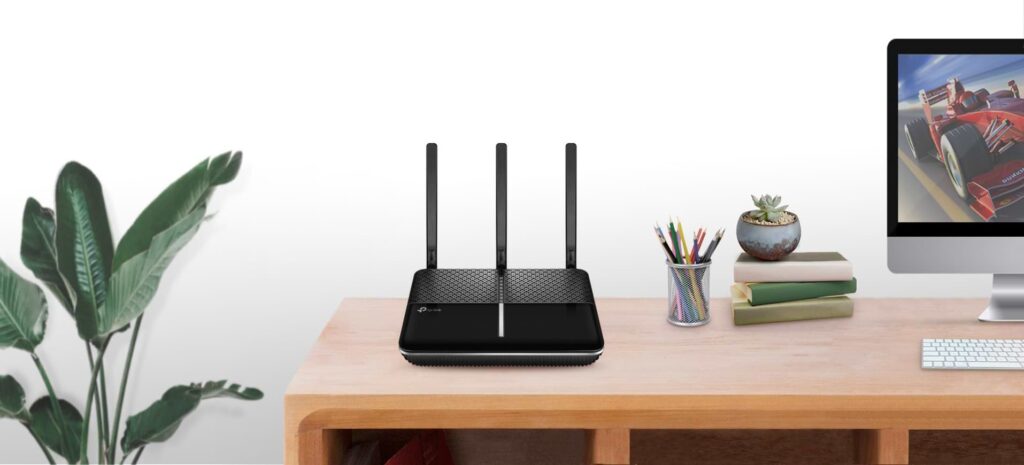
Setting up a Net gear WiFi extender can significantly enhance your home or office’s wireless network coverage, eliminating dead zones and ensuring a seamless connection throughout the premises. This guide will walk you through the setup process for various Net gear WiFi extender models and provide troubleshooting tips, advanced configurations, and optimization techniques.

Mywifiext.net Troubleshooting Tips
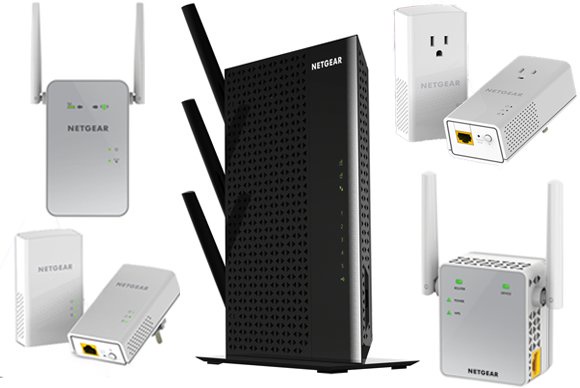
A WiFi extender, also known as a WiFi booster or repeater, helps amplify your existing wireless signal, extending the coverage area. Net gear offers a variety of models, each designed to cater to different needs and environments. This guide will focus on popular models such as EX3110, AC1200, EX6120, and more.
mywifiext not working
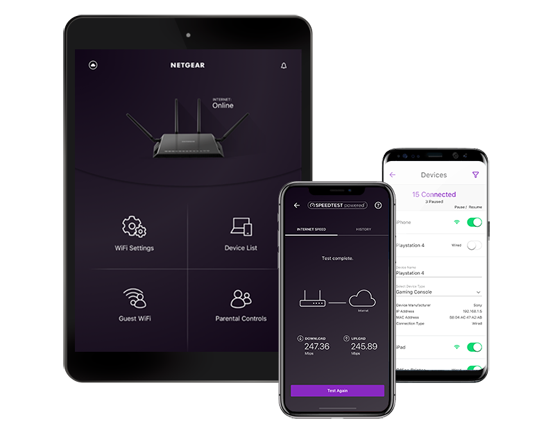
Guest Network Setup
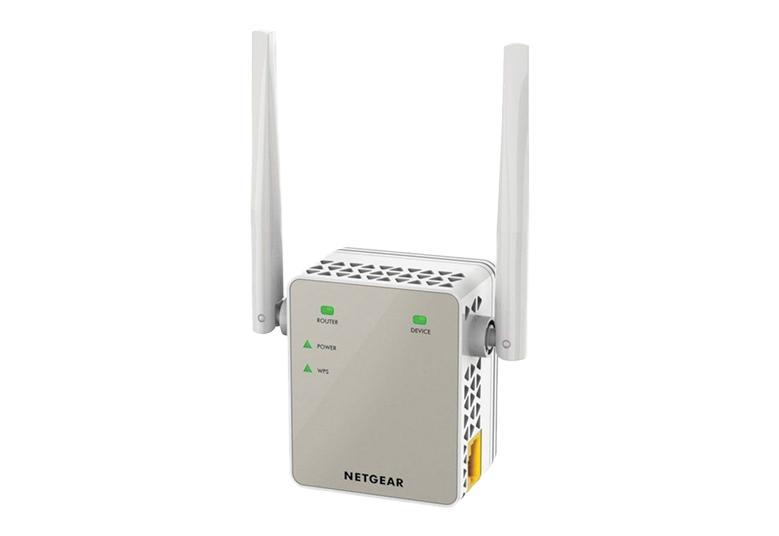
- Log In:
- Access the extender’s web interface.
- Navigate to Settings:
- Go to the guest network settings.
- Configure Network:
- Set up a separate WiFi network for guests, ensuring security and privacy.
Firmware Updates
- Check for Updates:
- Regularly check the Net gear support website for firmware updates.
- Update Firmware:
- Use the web interface to update the extender’s firmware for optimal performance and security.
www mywifiext
- Optimal Placement:
- Place the extender in an open space, away from obstructions.
- Avoid Interference:
- Keep the extender away from electronic devices that may cause interference.
- Channel Selection:
- Use the web interface to select the optimal WiFi channel, reducing interference from neighboring networks.
- Regular Reboots:
- Periodically reboot your extender and router to maintain a stable connection.
www mywifiext net login
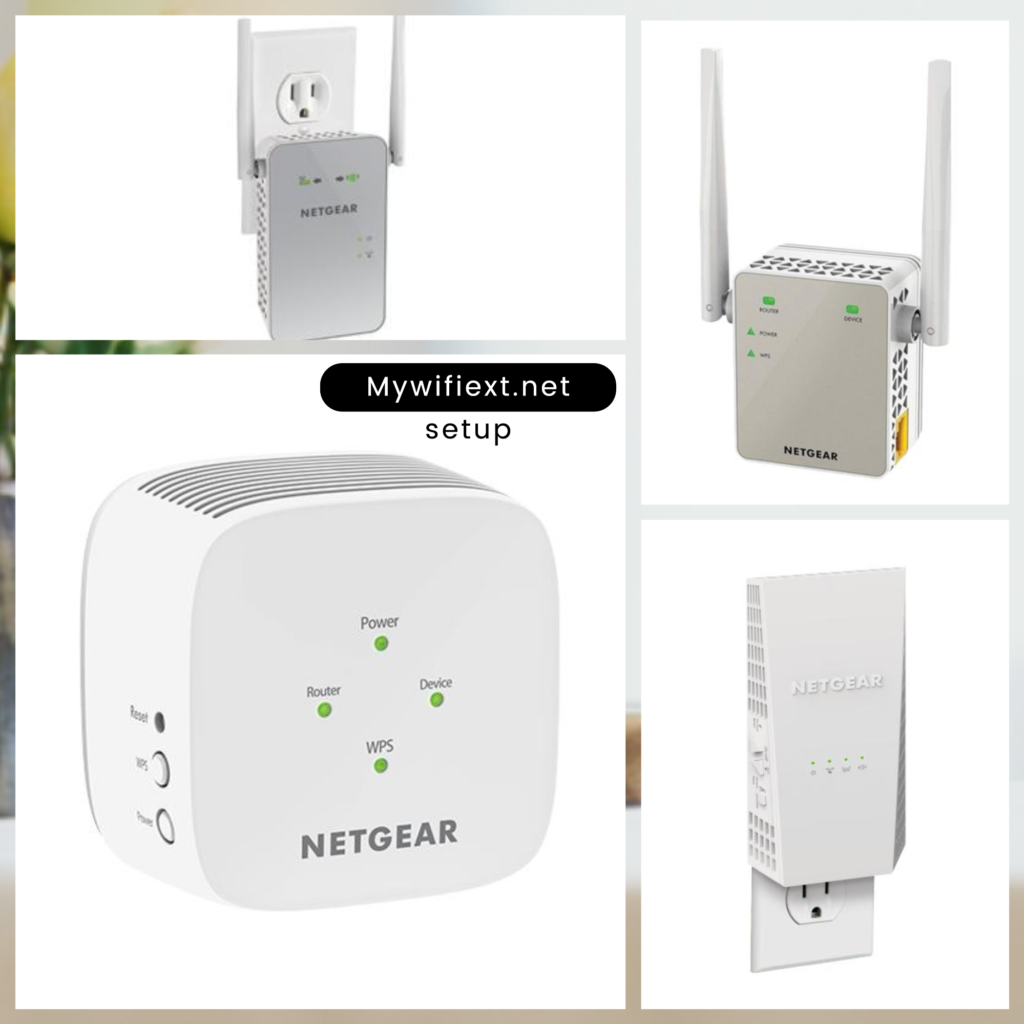
Unbox and Power Up
Connect to Your Device
Setup Wizard
Relocate Your Extender

www mywifiext local
Net gear EX3110 (AC750)
Net gear EX3110 (AC750) 1. Access Setup Page: o Connect to the extender's default network (NET GEAR_EXT). o Open a web browser and go to www.mywifiext.net. 2. Setup Wizard: o Follow the on-screen instructions to select your existing WiFi network and enter its password. 3. Complete Setup: o The extender will connect to your network and extend the WiFi signal.
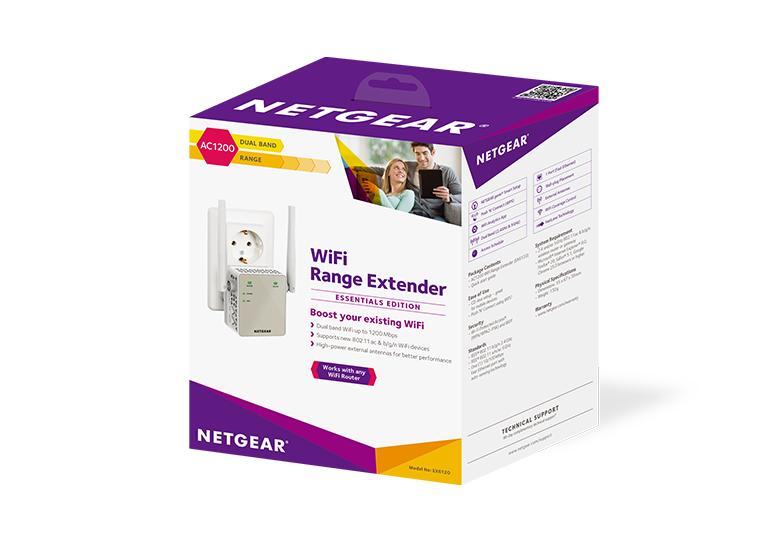
Net gear AC1200
1. Plug In and Power On: o Position the extender near your router and power it on. 2. Connect via WPS Button: o Press the WPS button on your router. o Within 2 minutes, press the WPS button on the extender. The LED should turn solid green.
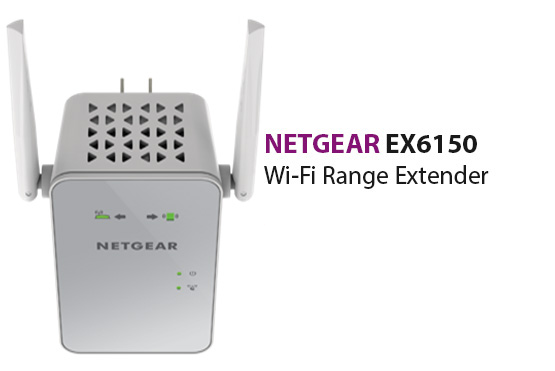
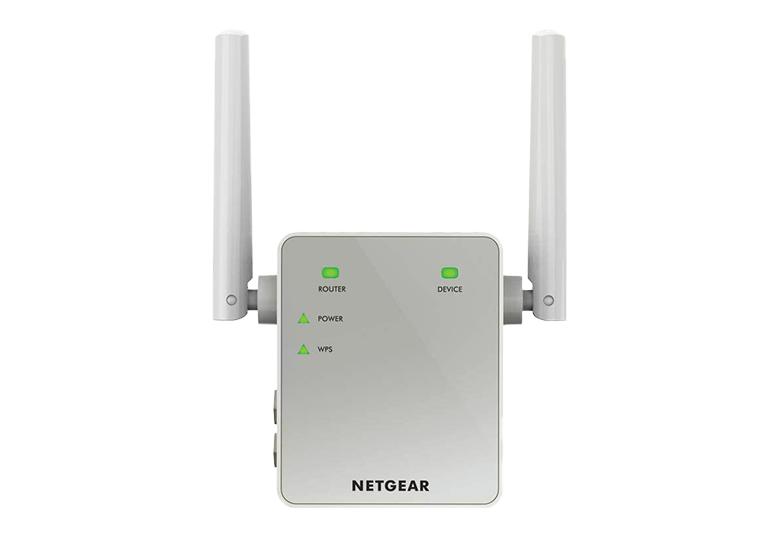
Net gear EX6120
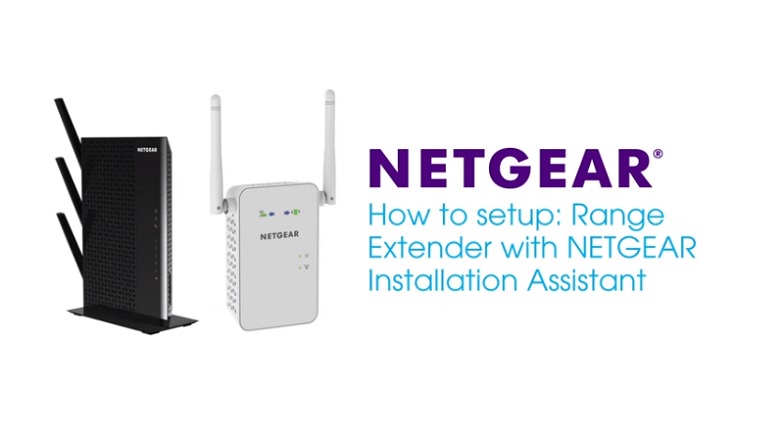
1. Initial Setup: o Connect to the extender's default network and access www.mywifiext.net. o Follow the setup wizard to connect to your WiFi network. 2. Manual Configuration: o If you face issues, reset the extender and set it up manually using the Net gear installation assistant.
Other Popular Models
∙ Net gear EX7000 (AC1900) ∙ Net gear EX8000 (AC3000) ∙ Net gear N300 ∙ Net gear EX3700 Follow similar setup steps for these models, ensuring you access the appropriate setup page and follow the on-screen instructions.
http www mywifiext net
Connection Issues
- Ensure Proper Range:
- Place the extender within range of your router’s signal.
- Reboot Devices:
- Restart your router and extender if you experience intermittent connections.
- Check Firmware:
- Ensure your extender’s firmware is up-to-date.
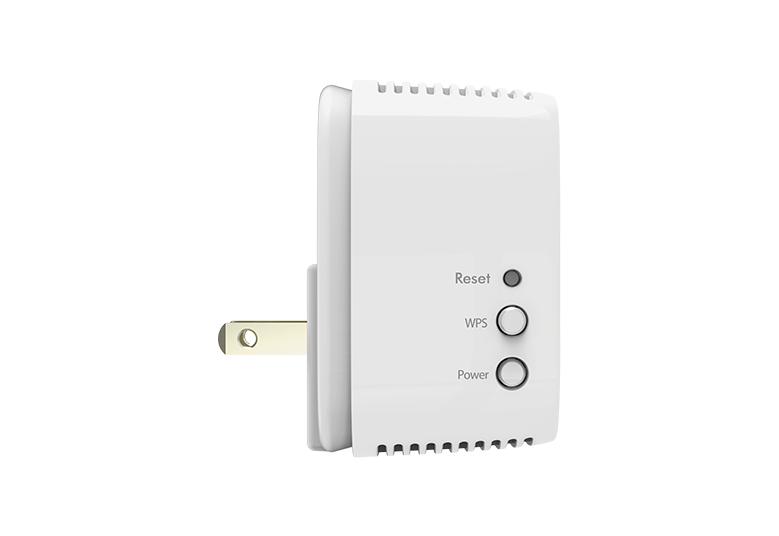
WPS Setup Fails
- Verify WPS Compatibility:
- Ensure both your router and extender support WPS.
- Manual Setup:
- Use the web interface for manual setup if WPS fails.
Extender Not Found on Network
- Factory Reset:
- Reset the extender to factory settings and try the setup again.
- Correct Network:
- Verify you are connected to the correct default network.


Need Help? Contact Mywifitechlink.online Experts!
Still stuck? Our support team can help with:
- www.mywifiext.net setup problems
- Login and connection issues
- Slow WiFi performance
- Firmware and configuration help
www.mywifiext
- Net gear Official Support: Net gear Support
- Setup URL:mywifiext.net
- Troubleshooting & Manuals: Net gear Manuals
- Firmware Updates: Net gear Firmware
Frequently Asked Questions (FAQs) about Mywifitechlink.online
A WiFi extender, also known as a WiFi booster or repeater, helps to extend the coverage area of your existing wireless network. It amplifies the WiFi signal from your router, allowing you to eliminate dead zones and enjoy a more reliable connection in areas with weak coverage.
- Step 1: Plug in and power up the extender near your router.
- Step 2: Connect to the extender’s default WiFi network (e.g., NETGEAR_EXT) using a computer or mobile device.
- Step 3: Open a web browser and type www.mywifiext.net to access the setup page.
- Step 4: Follow the setup wizard to connect the extender to your existing WiFi network.
- Ensure your device is connected to the extender’s default network (e.g., NETGEAR_EXT).
- Try using the default IP address in the web browser’s address bar.
- Restart your browser and device, and try again.
- Place the extender halfway between your router and the area with weak WiFi coverage.
- Avoid placing the extender near electronic devices that may cause interference.
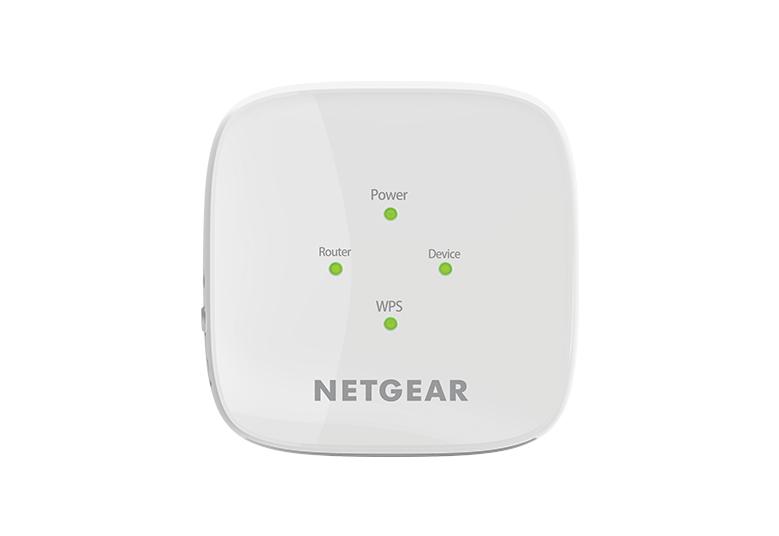
- Ensure that the extender’s signal strength LED indicates a good connection.
- Ensure both your router and extender support WPS.
- Press the WPS button on your router and then on your extender within 2 minutes.
- If WPS setup fails, use the web interface for manual setup by accessing www.mywifiext.net.
- Log in to the extender’s web interface.
- Navigate to the firmware update section.
- Check for the latest firmware version and follow the on-screen instructions to update.
- Access the extender’s web interface.
- Go to the guest network settings section.
- Configure the guest network by setting a separate SSID and password for guests.
Access the extender’s web interface.
Go to the guest network settings section.
Configure the guest network by setting a separate SSID and password for guests.
- Reset the extender to factory settings and try the setup again.
- Verify you are connected to the correct default network.